Step 14: Install pneumatic hood supports to facilitate the showing of under-the-hood. This replaces the stick previously used. I picked 30 pound strength supports and could have gone a little stronger. These will work anyway, they securely hold it in the up position and it is very easy to open and close the hood.
Sunday, December 9, 2012
Monday, December 3, 2012
ammeter
Step 13: Install ammeter. I decided to monitor battery current and motor current. I used romex wire because it has the potential to be at high voltage. Plus I had some laying around.

The meters fit where the old heater controls were.

Through the firewall.

The shunt for the motor current hangs off the motor terminal. A cable will go from the other end of the shunt, under the car, into the trunk to the motor controller.


The meters fit where the old heater controls were.

Through the firewall.

The shunt for the motor current hangs off the motor terminal. A cable will go from the other end of the shunt, under the car, into the trunk to the motor controller.

The shunt for the battery current hangs off the battery stack contactor.


Sunday, September 9, 2012
battery disconnect switch / fans / contactor
Step 10: Install battery disconnect switch. For this I'm using a huge breaker installed in the gas filler. It can be manually tripped by a power-take-off cable from the driver's seat. It is a standard with conversions to have a battery disconnect switch where the gas filler was for easy location by emergency crew. Typically I think this is just a kill-switch to the main contactor triggered by the gas filler flap and doubles up with a feature to prevent driving off while connected to a charger which is also commonly through the gas filler. It was a good spot for the breaker anyway.
Step 11: Wire up motor fan and condenser fan to switches in the dash. Something was wrong with the bearings in the condenser fan that came with the car, it didn't spin freely and it pulled excessive current. So I replaced it with an after-market fan that works great and only draws 4 amps. The 3rd switch is wired into the throttle circuit and will be used to make the motor idle when stopped for the air conditioning compressor to function.
Step 12: Install main contactor. This is a high power relay that will connect the battery to the motor controller. No picture for this but it sits in the engine bay and is wired to close with the key switch. You may hear it click in the video.
Sunday, August 12, 2012
throttle
Step 9: Rig throttle. Original throttle linkage, there's a spring on the wiper arm and a spring on the foot pedal.
Sunday, July 29, 2012
motor fan
Step 8: Install motor cooling fan. For this I chose a very cheap marine bilge blower. It's loud but will only be turned on when driving. I cut and bent a down spout from a rain gutter and riveted it onto the motor brush guard. The bilge blower fits snugly over and is screwed into the down spout.


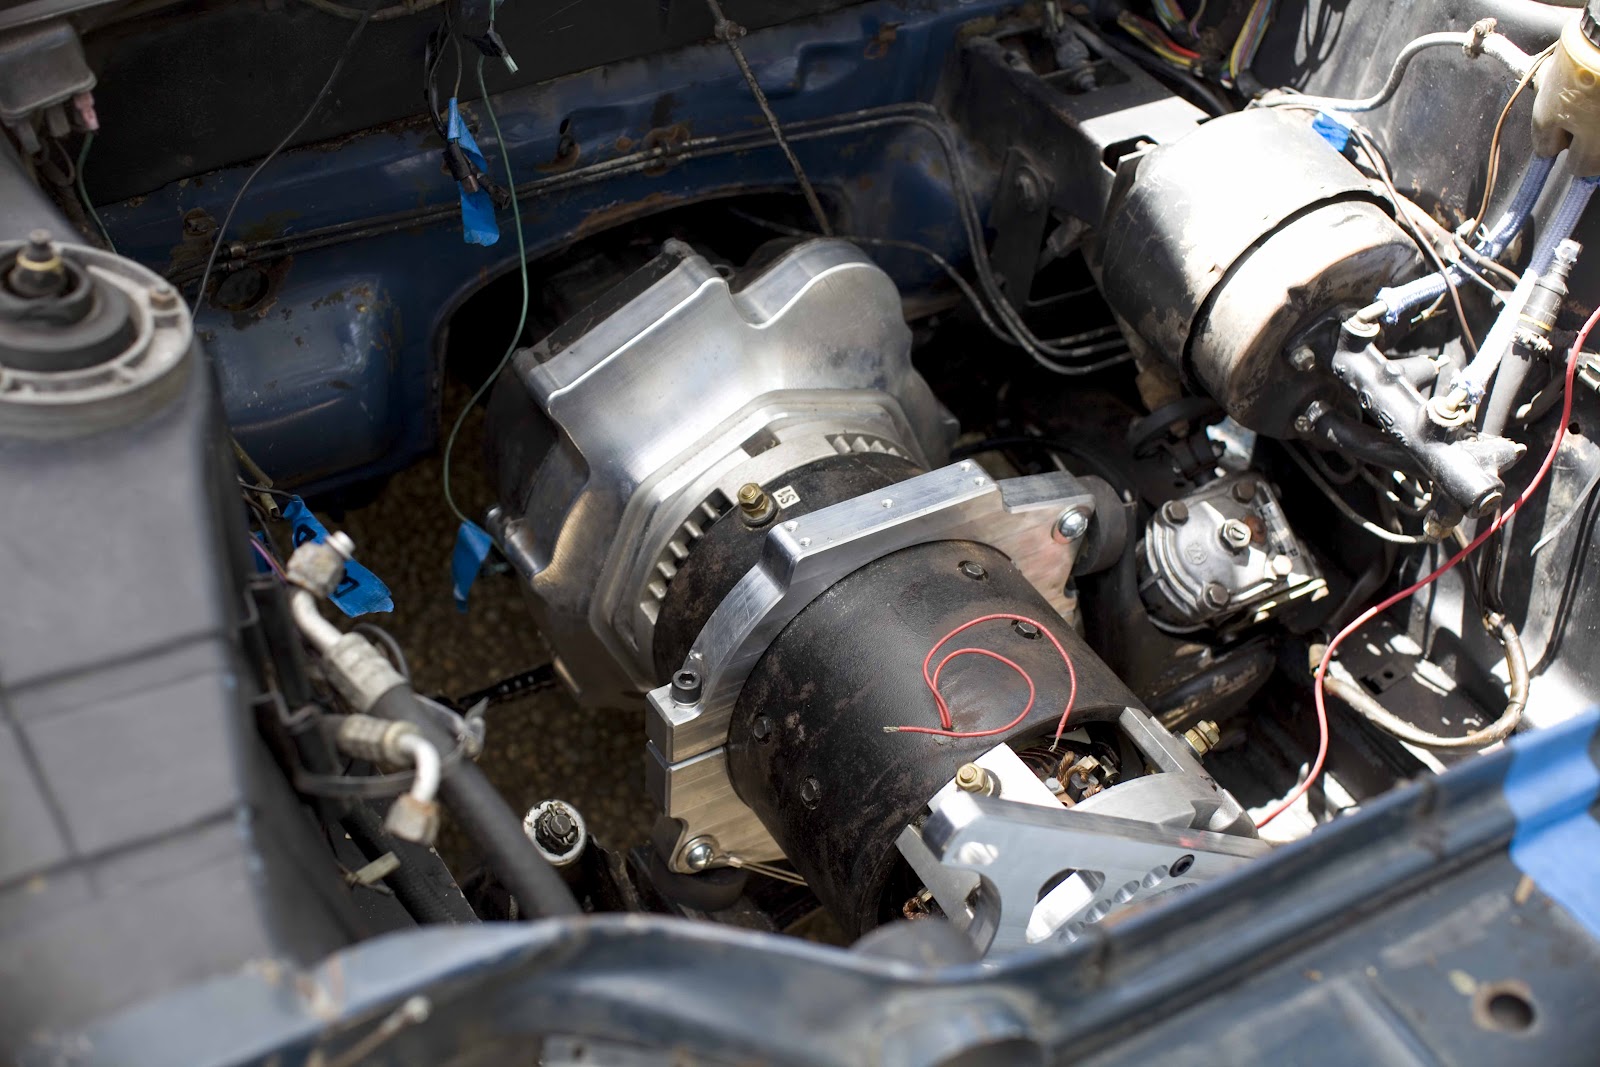
compressor
Step 7: Install compressor. It will be serviceable from underneath, in case other components block access from top.


Adapter, mounting and compressor system engineered by Rebirth Auto in Florida. They'd done one before. Great fit!


Adapter, mounting and compressor system engineered by Rebirth Auto in Florida. They'd done one before. Great fit!
Saturday, July 28, 2012
motor is in
Most folks connect the transmission to the motor while it is out of the car. Clearly this was what the ring mounting system was designed for. I didn't want to mess with shift linkage so I left the transmission in the car. This might be doing it the hard way but it wasn't that hard. I removed the bottom half of the motor mount ring and installed it to put the motor on top of. The rig required some wrestling to mate up. I borrowed the hoist from a friend.


Subscribe to:
Posts (Atom)